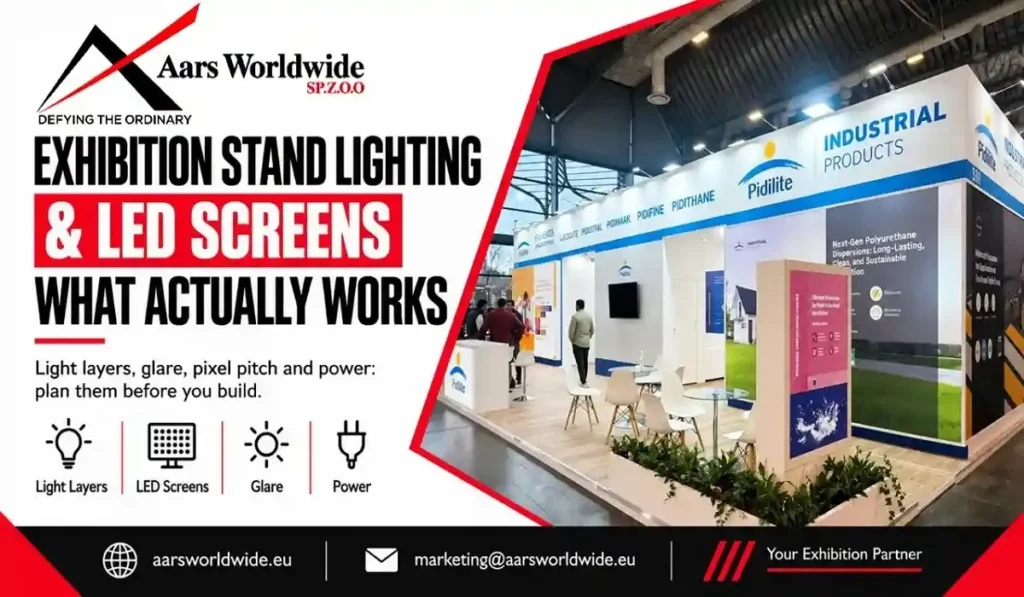
Walk a hall at ten in the morning and look at which stands pull you in. It’s rarely the ones with the most expensive screens. It’s the ones with light in the right places: a clean glow on the product, a logo you can read from the aisle, one screen showing one thing. The stands that lose you tend to do the opposite. Bright ceiling spots, three screens fighting each other and a glare on the touchscreen.
Exhibition stand lighting design and screens are the part of the build visitors notice first and think about last. This guide covers what tends to work, what doesn’t, and what to settle before anything gets built.
Start with the job, not the gear
Before you choose a fixture or a screen, decide what each one is for. Light has three jobs: get attention from the aisle, show the product properly, and make the space comfortable enough to stay in. A screen should have one job each: explain something, demonstrate something or invite someone in. If you can’t say what a screen is for, you probably don’t need it.
Build the lighting in layers
Good lighting is rarely one kind of light. Most stands work with four layers.
Ambient light is the base, so your stand isn’t darker than the hall around it. Accent light picks out products, counters and key graphics. Brand light is the illuminated logo, backlit graphics and LED edge strips that people see from a distance. Atmosphere is softer light for lounges and meeting areas, so people feel they can sit down and talk.
Use all four and the stand has depth. Use one, usually a row of bright ceiling spots, and it looks flat.
Colour matters too. Pick one colour temperature for most of the stand. A warm-to-neutral white, roughly 3000K to 4000K, suits most products, and mixing cold and warm lights looks messy. If colour is part of what you sell, such as fashion, food, cosmetics, textiles or packaging, look for fittings with high colour rendering (a CRI of 90 or above) so products look the way they do in real life.
Aim light at what visitors should look at or touch, not at the floor. Start with the sides that face the aisles. At meeting tables, soft light from the side or a pendant is kinder to faces than a hard spot directly overhead.
A custom stand makes all of this easier, because the lighting can be planned into the structure itself. Think LED channels in the fascia, backlit panels and recessed spots instead of lights clamped on afterwards.
Pick LED screens by viewing distance
There are three common options, and they do different jobs.
An LED video wall gives you size and impact. It’s what people notice from across the hall. A standard display monitor is sharper and cheaper, and works well for demos at a counter. A touchscreen works for interaction, as long as it has a clear reason to be touched.
For video walls, learn one term: pixel pitch. It’s the distance between pixels, and a smaller pitch gives a sharper picture up close. As a rough rule of thumb, the pitch in millimetres is about the minimum comfortable viewing distance in metres. A 2.5 mm wall looks best from around 2.5 m or further. Check the exact figure with your supplier for the panel you’re using.
Put touchscreens at a comfortable height and angle, and make sure the first screen people see invites them to touch. Keep the number of screens low. One strong hero screen beats three average ones.
The content matters more than the screen
A great screen with poor content is an expensive blank wall. A few habits help:
Glare, brightness and reflections
Spotlights pointed at a screen create glare, and a screen that’s hard to read is wasted money. Angle fixtures away from displays, and avoid placing a screen directly opposite a strong light source.
Brightness is a balancing act. Hall lighting competes with your screens, so a dim screen washes out. A screen that’s too bright hurts the eyes and takes over the whole stand. Ask your supplier what suits your hall.
Power, rigging and venue rules
Every light and every screen draws power, so the total needs planning. Electrical connections usually go through the organiser’s services, and hanging lights or screens from the ceiling needs rigging approval. Heavy LED walls also need a structure strong enough to carry them. Check the organiser’s technical guidelines and plan power points and cable routes in the drawings, not on installation day.
Double decker stands need two lighting plans
If you’re weighing a second level, our guide on when to choose a double-decker stand explains when it earns its place. For lighting, it means two plans. The ground floor wants to be open, bright and ready for demos. The upper floor wants calmer light for meetings, and a screen up there shouldn’t send sound down onto your reception. Stairs need clear, safe lighting, and emergency exits and signs have to stay visible, so check the venue’s requirements.
What lighting and screens cost
Lighting and screens appear as separate line items in a quote, and they can add up quickly. Our breakdown of what an exhibition stand costs in Germany shows where these items tend to appear. A few habits keep the cost under control: spend where visitors actually look, choose one great screen over several average ones, and ask what is included in the quote, such as cables, content support and on-site help.
Six mistakes to avoid
Questions to ask your builder
Our audio-visual services cover LED video walls, digital signage, display monitors, interactive touchscreens, professional sound systems and event lighting, with technical support on site. Whoever you work with, ask:
Conclusion
Good lighting and screens come down to a few choices: layers of light, one clear message per screen, and a plan for power and glare before you build. If you’re planning your next stand, get in touch with our team and we’ll help you shape the brief.